How to Plant St. Augustine Grass Plugs

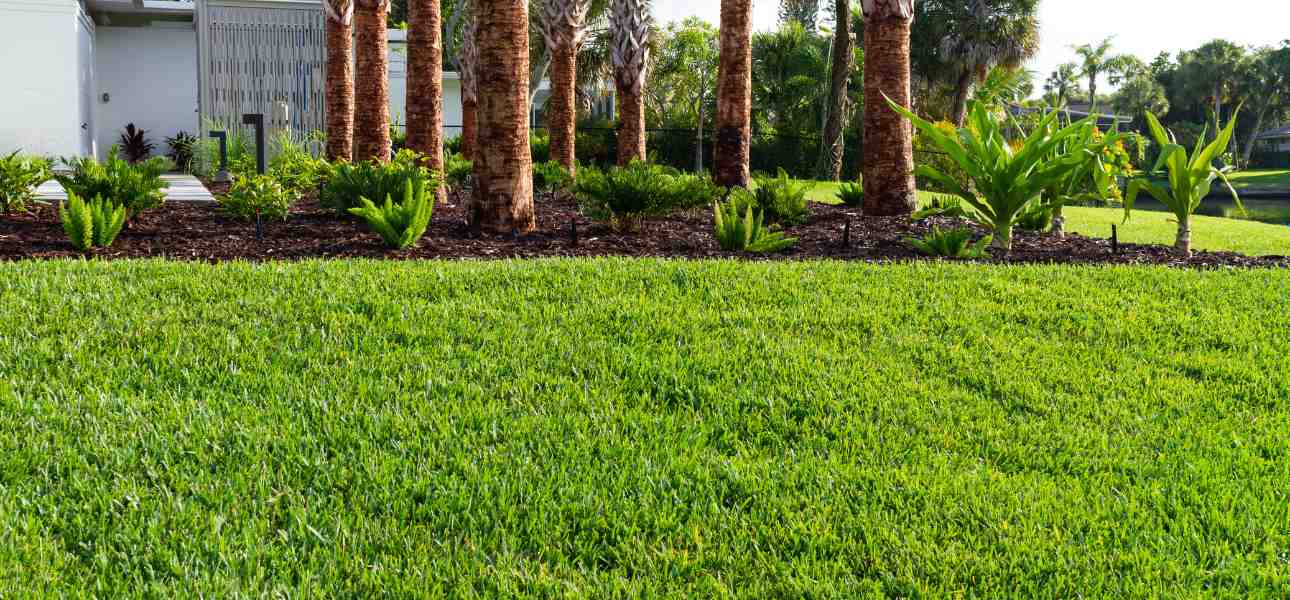
St. Augustine grass is a warm-season grass variety known for its excellent tolerance for heat and humidity. Characterized by its blue-green color and wide, flat blades, it has a low creeping habit that allows it to establish quickly and form dense mats that can effectively crowd out weeds.
Continue reading for an in-depth guide on how to plant St. Augustine grass plugs, along with maintenance tips to establish a lawn successfully.
What is St. Augustine Grass?
St. Augustine is a warm-season grass variety that thrives in Florida's warm, humid climate, along with Bermuda and Zoysia grasses. It belongs to the Poaceae family and spreads by stolons. It usually doesn't produce viable seeds and is instead propagated through grass plugging or sod installation.
This grass prefers moist environments and exhibits better cold tolerance than other warm-season varieties. It can retain its color in temperatures that would otherwise force other grasses into a dormant state during winter. St. Augustine grass is also salt-tolerant, making it an excellent choice for coastal yards. Its ability to grow into a lush, dense green cover is also why it's often used in ranches and pastures.
There are several types of St. Augustine grass available as warm-season grass plugs, with the most widely used including:
Floratam St. Augustine: The most common St. Augustine grass, known for its vigorous growth and coarse texture. It is highly resistant to chinch bugs and diseases and performs best in full sunlight.
Palmetto St. Augustine: A versatile cultivar that tolerates a variety of soil types and light conditions, including partial shade. It has a finer texture than Floratam and is distinct for its dark green color and dense growth habit.
Seville St. Augustine: A dwarf cultivar of St. Augustine grass that features a very fine blade texture and partial shade tolerance. It is also drought-tolerant and requires less mowing than other cultivars.
CitraBlue St. Augustine: While a relatively new cultivar, CitraBlue® has gained favor for its vibrant blue-green color, drought tolerance, and resistance to pests and diseases. It is distinct for having broad and flat blades.
ProVista® St. Augustine: A unique St. Augustine cultivar that has been genetically modified for slower vertical growth. This trait reduces the frequency of mowing necessary to maintain a lawn, adding to its low-maintenance benefits.

How to Install Grass Plugs
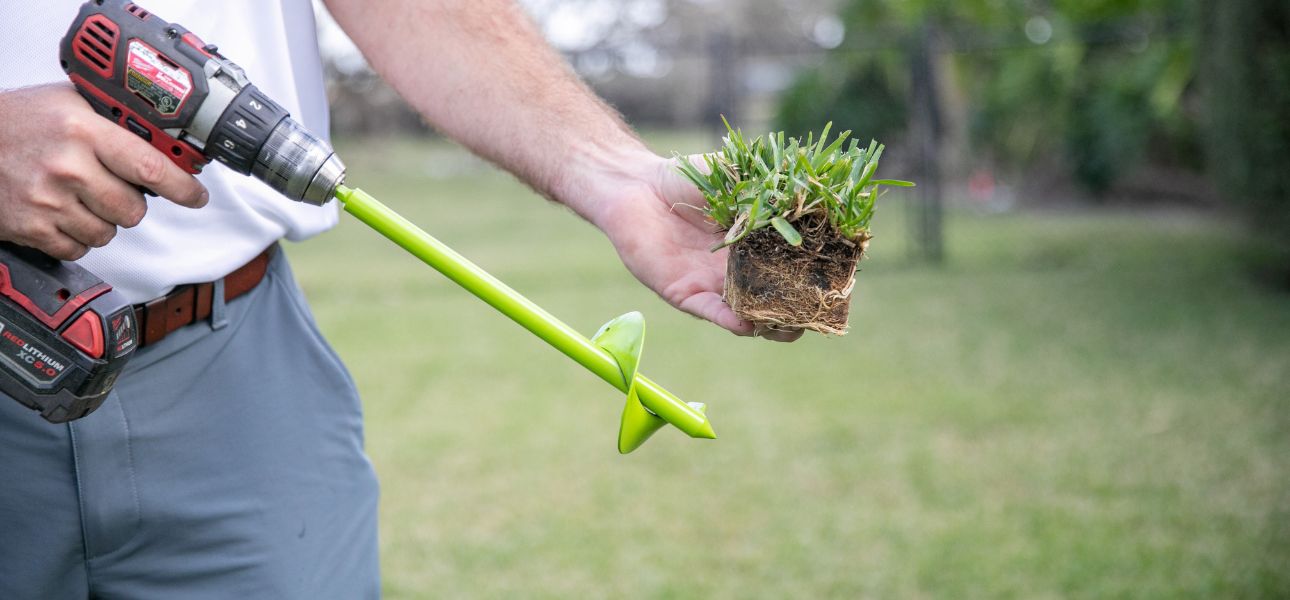
Grass plugs emerge as a middle ground between the cost of sod installation and the extensive process involved in planting grass from seed. These mature grass plants with well-developed root systems are grown in trays. Each SodPods® grass plug measures approximately 3 inches by 3 inches and is a great option if you don't have enough budget for a full-size sod, repairing small areas of damage, or you can wait for a while to have a lush, green lawn.
One characteristic shared by most St. Augustine grass varieties is their low maintenance qualities. But, ironically, to enjoy a beautiful, low-maintenance lawn, there is some work involved, starting with planting them properly.
Measure Your Lawn
Measuring your lawn allows you to determine the exact dimensions of the planting area and ensure that you buy the right quantity of grass plugs to cover it effectively. SodPods® grass plugs are available in 16, 32, and 64-pack trays. A tray of 16 plugs can cover approximately 36 square feet, giving you an idea of how many trays you need based on your lawn.
Prepare the Soil
Prepare your soil for planting grass plugs by raking aside any dead material to create a clean area for the new plugs. Additionally, apply a non-selective herbicide to the affected area to remove all vegetation, including weeds, that could compete with your desired plants for nutrients. Make sure to do this two weeks ahead of planting to ensure effective weed control without the risk of damaging your new grass plugs.
St. Augustine grass performs best in soil with pH levels of 6.0-7.5, which is slightly acidic to neutral. Although optional, a soil test provides insights into the soil pH and its nutrient makeup, guiding you to make the necessary amendments to create the ideal conditions for your soil. Click here for a brief guide on how to adjust soil pH when planting grass plugs.
Water & Dig
Watering makes the soil more malleable and ensures the roots have immediate access to moisture once the plugs are planted. Thoroughly water the ground until completely saturated or until it stops soaking in moisture, which may take several minutes.
Then, for the fun part, dig holes spaced 12 inches apart. Consider digging holes in a diagonal pattern so that each group of four holes forms a diamond. You can use the SodPods® grass plugging tool for precise and uniform holes that fit the grass plugs.
Fertilize with NutriPod®
For a successful establishment and accelerated growth of your new grass, we recommend using NutriPod® lawn fertilizer. Specifically designed for grass plugs, NutriPod® contains a balanced blend of nutrients that can help your grass grow up to two times faster. Simply place the fertilizer pod into the planting hole before inserting a grass plug. This ensures that the plant has immediate access to the nutrients as soon as it establishes in the soil, setting the foundation for healthy grass growth.
Plant Grass Plugs
Insert a plug into each planting hole and press it firmly to ensure plug-to-soil contact. Fill in the gaps with mulch so that no bare ground is visible where weeds can unwelcomingly grow.

How to Maintain St. Augustine Grass Plugs
Continue watering your new grass plugs daily or as necessary to keep the soil consistently moist for the first two weeks. This frequent watering helps the roots establish into the soil. After the initial two weeks, transition to a weekly watering schedule to maintain the required one inch of water per week. However, consider watering the grass plugs more frequently on extremely warm days or when there isn't enough rainfall to keep your St. Augustine grass hydrated.
Throughout the establishment process, keep a close eye on your lawn, as the roots and grass are more susceptible to pests and diseases during this period. Some of the common issues to look out for in St. Augustine grass include chinch bugs, sod webworms, gray leaf spot, fungi, and root rot.
In optimal growing conditions, you should observe your St. Augustine grass plugs spreading as little as 7-14 days after planting. As they spread, your lawn will gradually become greener day by day. The plugs usually take 2-4 months to cover your lawn completely. However, the exact time it takes to fill in the bare spots will depend largely on the spacing of the plugs. Closer spacing results in faster coverage, as the plugs can fill the area more quickly with a lush, green carpet of grass.
Once your St. Augustine grass reaches a mowing height, cut the grass blades for the first time to the highest height possible to avoid shock and stress to the grass. Gradually adjust your mower blades to reach the desired height, making sure to cut no more than one-third of the grass height each time. This practice allows you to maintain a healthy lawn and encourage deep root growth, increasing resilience to drought and stress.
When to Plant St. Augustine Grass Plugs
For best results, plant St. Augustine grass plugs during its peak growing season, which spans from late spring through early fall. This period is characterized by temperatures ranging between 80°F and 95°F in the daytime and an average of 72°F at night.
Planting during this time allows for faster establishment and gives the grass plugs enough time to prepare for winter dormancy. With proper lawn maintenance, you can enjoy a dense, lush green carpet of grass in no time.
For a wide range of farm-fresh St. Augustine grass plugs, visit the Try SodPods® website.


